
Intro
2023년 마지막 날에 글을 작성합니다. 올 한해도 어느덧 마지막 날이 되었는데요, 저는 AIX라는 1986년에 나온 Unix Engineer로 일을하고 있으나 공부를 할수록 IT의 초기개념의 역할이 중요하다는 생각을 합니다.
그래도 2023년, 2024년은 누가뭐래도 AI가 핵심 관심사일 것입니다. AI 관련된 포스팅 : https://it-ist.tistory.com/315
생성형 AI? 직접 써볼게요. (Chatgpt, Autogpt, HyperClova X, WatsonX, Midjourney, RVC Crepe V3)
2023년은 생성형 AI의 시대라고 해도 과언이 아닙니다. Chatgpt를 필두로 여기저기서 AI, AI, AI에 대해 외치고 있습니다. 이런 적은 처음이 아닙니다. 1. 이제는 볼드모트가 된 그 이름 2018년을 기억하
it-ist.tistory.com
Github trend를 주기적으로 살펴보고 있습니다. 포스팅을 한 것 처럼 올해 상반기와 중반기에는 Prompt Engineering을 활용한 Text to Script, Text to Image, Text to Speech등이 주를 이루었다면 이제는 점점 Text to Video, Movie / 자신의 모습을 실시간으로 변형해주는 AI 등이 나타나고 있습니다.
관심이 있으면 아래 Github에서 Stream Diffusion에 대해 살펴봐주세요.
https://github.com/cumulo-autumn/StreamDiffusion
요새 사람들은 보정된 모습을 자기 자신으로 생각하고 거울에 비친 자기를 부정한다고 합니다. Snow, Tiktok, Insta의 보정능력이 한 몫을 하겠죠. 자기자신의 모습을 유지한채 Texture와 Vector를 다루어 누구보다 매력적인 모습을 보여주는 능력에는 장단이 있을거라 생각합니다.
오늘 써볼 아티클은 M1 칩에서 Stable Diffusion을 설치해보고 Web UI를 직접 구동해서 사용해보는 부분입니다.
Stable Diffusion에 대해서는 아래 아티클에서 굉장히 잘 설명해주고 있습니다.
Stable Diffusion이 대체 무엇일까?(Latent Diffusion의 작동 원리)
요즘 Stable Diffusion 기반의 Novel AI가 큰 인기를 끌고 있다. 그래서 이에 대해 검색해보고 어떤 원리인지 이해하고 나서 정리를 해보았다. 이 글에서는 쉬운 이해를 위하여 자세한 수학적 원리나 매
pitas.tistory.com
맥에서 머신러닝모델사용에 대한 어려움
기본적으로 머신러닝에서는 Nvidia 회사에서 만든 Cuda라는 GPU 개발툴을 많이 이용하는데 Apple은 Nvidia GPU를 사용하지 않기에 어려움을 겪습니다. 그러나 요새는 pytorch 오픈소스 라이브러리에서 M1, M2를 타겟팅해서 업데이트를 해주어 MPS 가속을 통해 어느정도 사용이 가능하게 해주고 있습니다. 그럼에도 불구하고 아직까지 AI/ML에 대한 부분은 Nvidia GPU와 intel CPU로 진행되는 것이 현실인 것 같습니다.
Mac M1에서 Stable Diffusion Web UI 설치해보기
기본적으로 https://github.com/AUTOMATIC1111/stable-diffusion-webui 을 참고하였습니다.

문서를 넘기다 보면 Apple Silicon 칩에 대해 따로 가이드를 넣어 놓았습니다.
Step 1.
- If Homebrew is not installed, follow the instructions at https://brew.sh to install it. Keep the terminal window open and follow the instructions under "Next steps" to add Homebrew to your PATH.
Homebrew가 설치되어있지 않다면 iterm2환경에서 Homebrew를 설치해줍니다.
Step 2.
- Open a new terminal window and run brew install cmake protobuf rust python@3.10 git wget
Termnial 을 열고 python환경과 cmake를 통해 protobuf를 설치해줍니다. (자세한 건 구글링을 통해 알아보시길.. ㅎㅎ)
conda를 이용해 가상환경으로 python을 이용한다면 Python 설치는 건너 뛰어주시면 됩니다.
sangwon@Sangwon-Mac-Air ~ % brew install cmake protobuf rust git wget
Step 3.
- Clone the web UI repository by running git clone https://github.com/AUTOMATIC1111/stable-diffusion-webui
sangwon@Sangwon-Mac-Air ~ % git clone https://github.com/AUTOMATIC1111/stable-diffusion-webui
git branch를 복제해줍니다.
Step 4.
- Place Stable Diffusion models/checkpoints you want to use into stable-diffusion-webui/models/Stable-diffusion. If you don't have any, see Downloading Stable Diffusion Models below.
Stable diffusion model을 이용해 image를 생성해주기에 Hugging Space page에서 모델을 이용해 Local folder에 넣어주면 됩니다.
sangwon@Sangwon-Mac-Air ~ % mkdir stablediffusion
sangwon@Sangwon-Mac-Air ~ % cd stablediffusion
sangwon@Sangwon-Mac-Air Stable-diffusion % pwd
/Users/sangwon/stablediffusion/stable-diffusion-webui/models/Stable-diffusion
##### 이곳에서 다운로드받은 모델을 옮겨주면 됩니다. #####
sangwon@Sangwon-Mac-Air Stable-diffusion % ls
Put Stable Diffusion checkpoints here.txt
v1-5-pruned-emaonly.ckpt
Step 5.
- cd stable-diffusion-webui and then ./webui.sh to run the web UI. A Python virtual environment will be created and activated using venv and any remaining missing dependencies will be automatically downloaded and installed.
복제한 branch에서 shell script ./webui.sh 를 실행하면 끝입니다.
sangwon@Sangwon-Mac-Air stable-diffusion-webui % ls | grep webui.sh
webui.sh

sangwon@Sangwon-Mac-Air stable-diffusion-webui % ./webui.sh
Step 6. 실제 수행해보기

스크립트가 쭉 돌면 Local 7860 port로 web ui가 생성됩니다.
저의 경우에 오류가 나면서 실행되지 않았습니다. 해결방법으로 2가지가 있는 것 같은데 Pytorch를 2.1로 업그레이드하거나
./webui.sh --no-half --skip-torch-cuda-test
오른쪽에 --no-half 플래그를 넣어서 실행하면 해결되었습니다. https://github.com/AUTOMATIC1111/stable-diffusion-webui/issues/11120 참조
실제 수행사례 몇가지
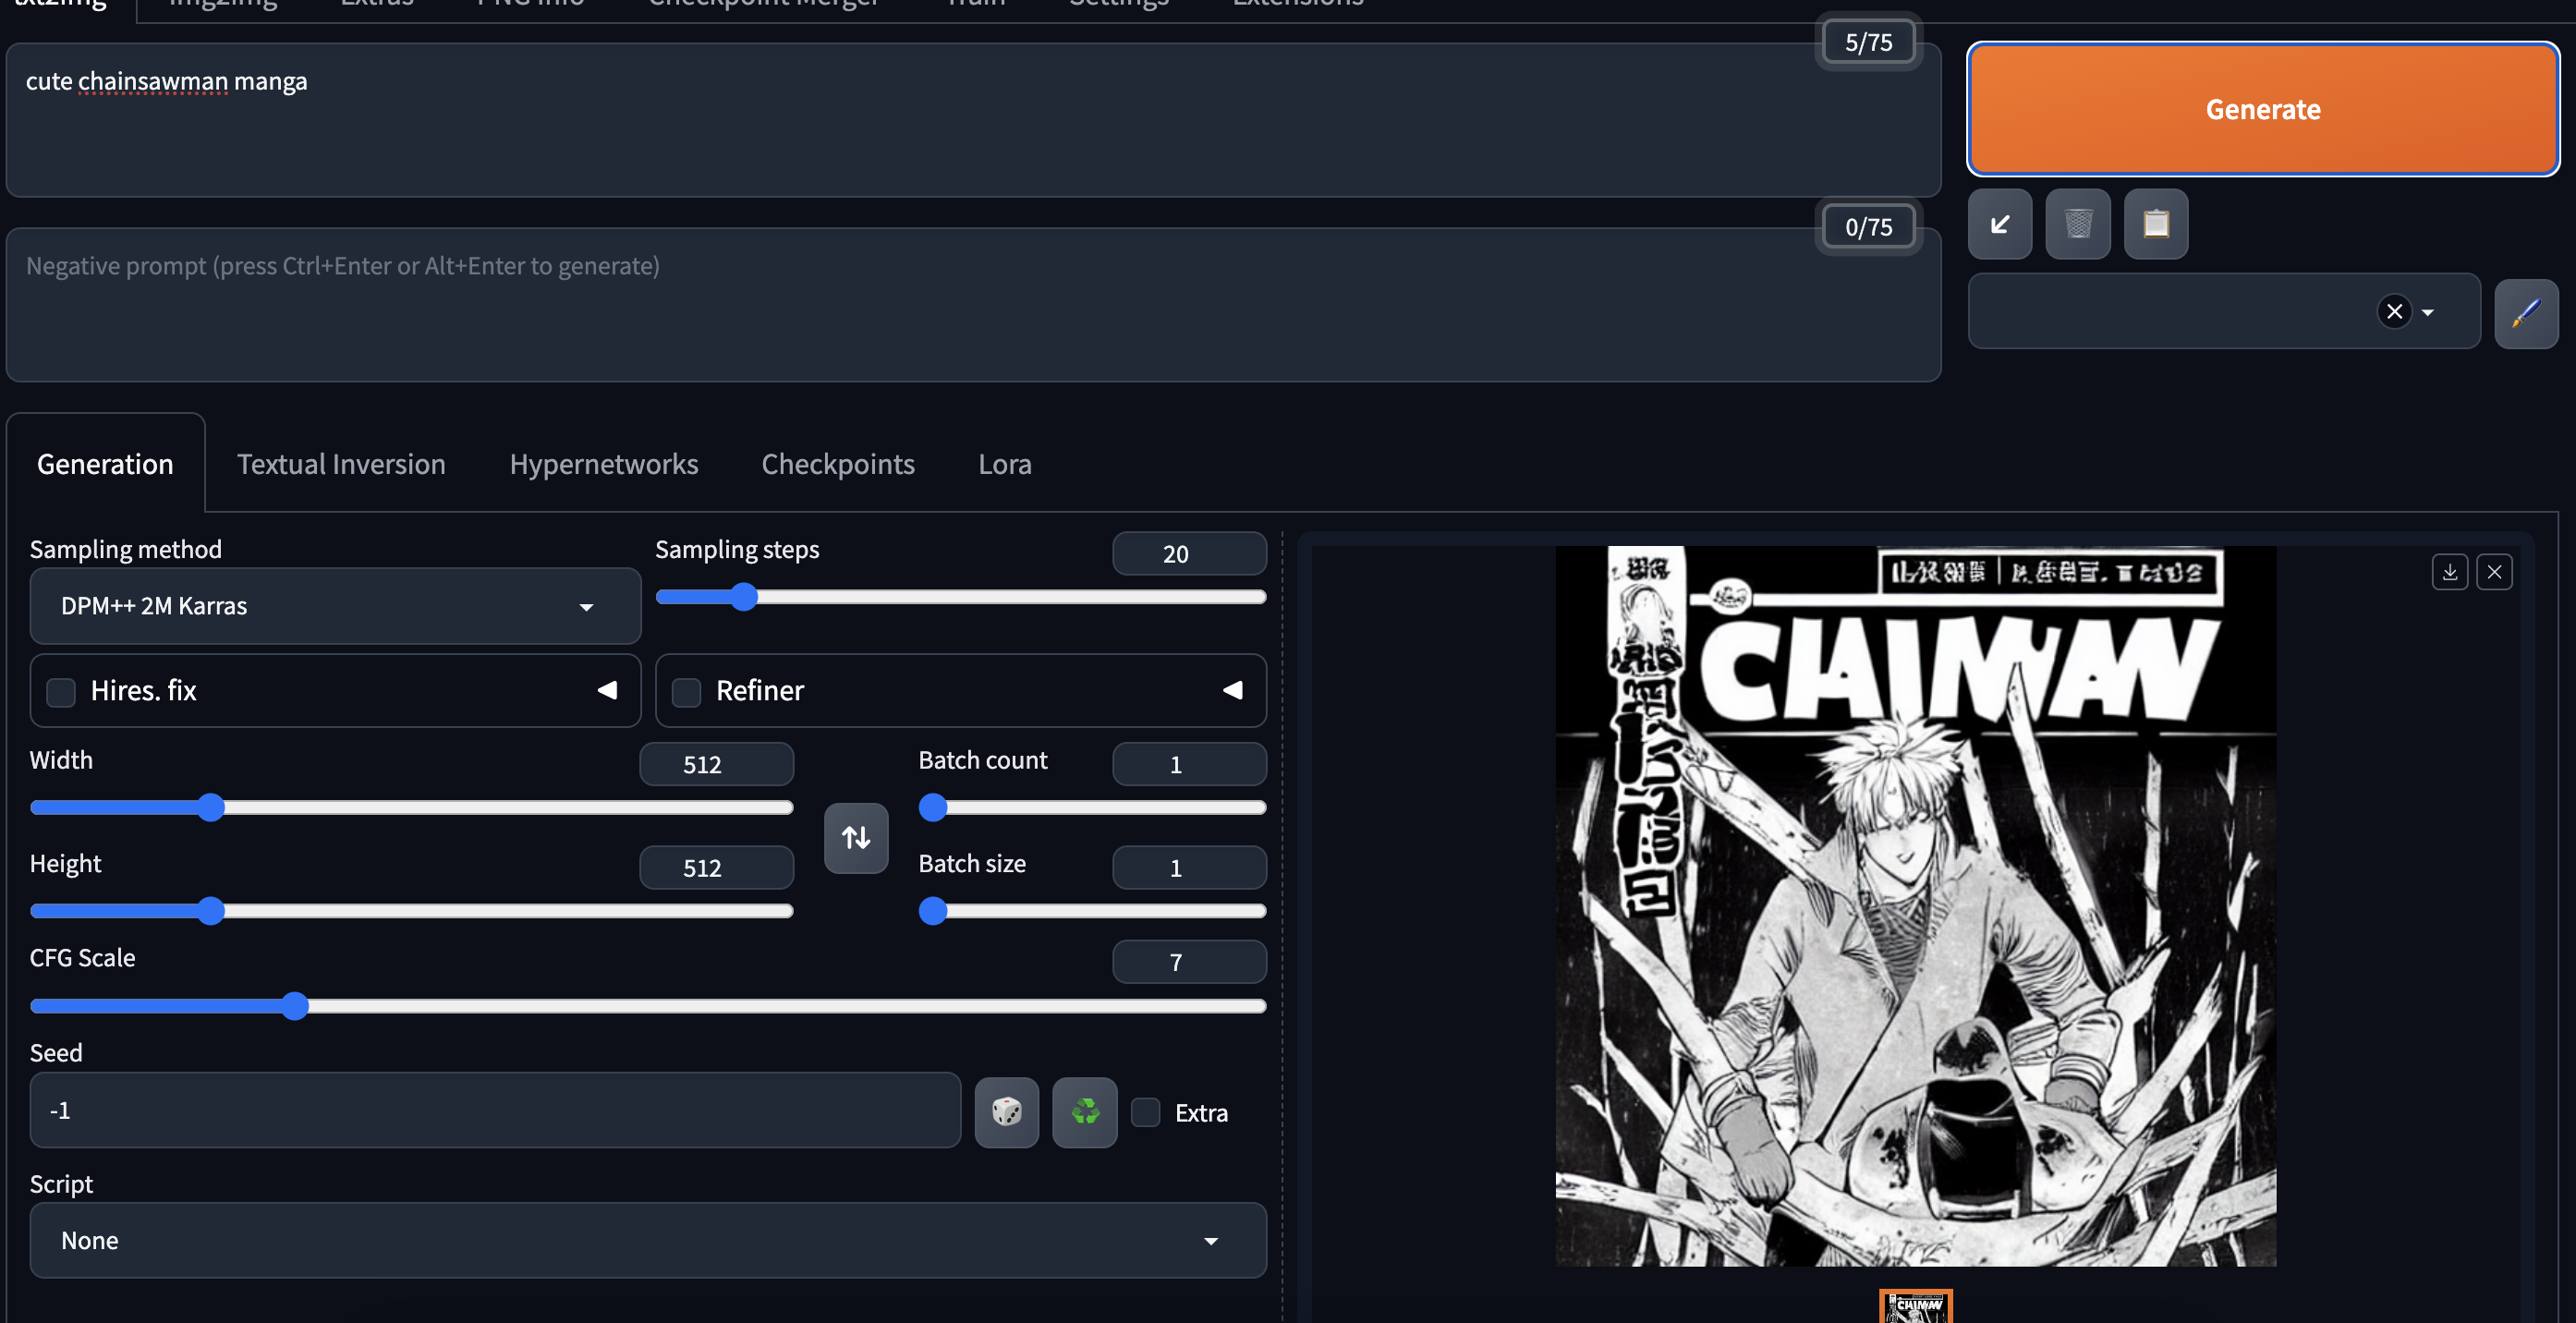
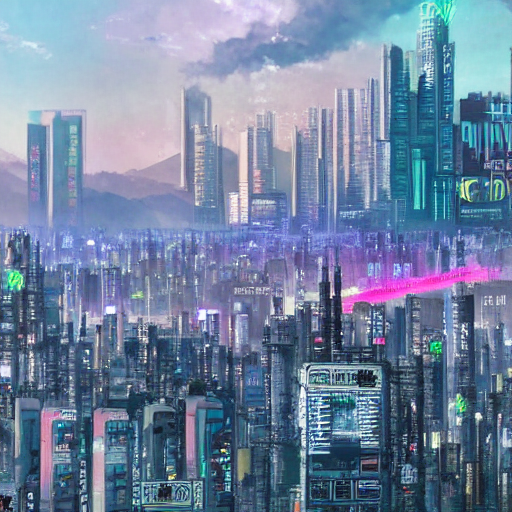

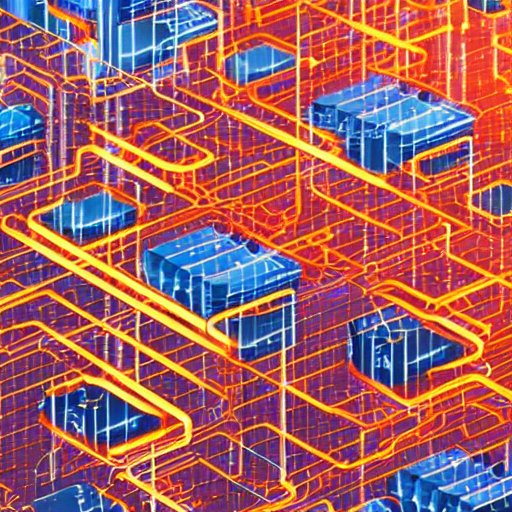
몇가지 명령어로 시도해보았으나 이 모델을 더 잘 다루는 법을 찾아봐야할 것 같습니다.
이상 Mac M1 에서 시도해본 Stable Diffusion 설치와 간단한 Practice 였습니다.
'IT Note > Data&AI' 카테고리의 다른 글
| <텍스트로 비디오 만들기? 직접 해볼게요 : 비디오스튜, 스테이블디퓨전> (0) | 2024.02.15 |
|---|---|
| GPU Basics -동작원리와 사용하는 이유에 대해서 (0) | 2024.02.08 |
| 호다닥 톺아보는 Vector (0) | 2023.12.22 |
| 생성형 AI? 직접 써볼게요. (Chatgpt, Autogpt, HyperClova X, WatsonX, Midjourney, RVC Crepe V3) (1) | 2023.09.11 |
| 장안의 화제!! Github 별 130000개 Auto-GPT 10분만에 써보기 (2) | 2023.05.16 |


